Wednesday, August 1, 2012

Lightning Fever!

Over the last couple of weeks some strong storms have moved through and past my area.  Because I have been participating in a Facebook group that has brought over 150 Vermont photographers together I have found myself a little more daring and resolved to better my photography and try new things.  Namely, trying to get a good shot of lightning on purpose.

Here is a pic that I took back in 2010 after a storm that I got caught a mile away from home walking in:

That was the only one I had taken that came out good in the past 3 years.  It was handheld and totally accidental. 

Now I have learned the importance of a tripod for such things.  I usually hate using a tripod because it really restricts me and limits me to that one spot.  However, I used one a week ago and got this photo:

This storm was particularly violent so the odds of me getting a shot of lightning were in my favor.  I waited until the storm was flashing in my back yard and then opened my back screen door, set up my tripod, and started pressing the shutter button.  I pushed that button 350+ times to get this one!  Again though, it was more of a lucky shot than anything else.  

This past Saturday I happened to look out the window and saw this:

I got all excited because I hadn't seen any of these this year yet, and because I knew I would get another chance to try to get a lightning shot, this time at night so I could do it the "right" way.  When it got dark enough, around 9:30pm, I got my camera, tripod, and wireless remote and ran across the road to the Dollar General parking lot.  I wore sweatpants and a hooded sweatshirt and socks because it was so buggy I knew that I would get eaten alive.  The cloud was fairly active so I played around to see what settings would work.  

Using BULB mode, I decided that an aperture of about 8.1 was sufficient, and an ISO of 200.  I held the shutter open up to 40 seconds, depending if I caught a flash of lightning or not.  I also strongly recommend using RAW format if you can.  It takes much less time to recover from long shutter speeds.

Here are the best results:


This one was 40 seconds exposed.  

I wish I could have stayed out there longer but it was just too buggy and my husband was waiting for me so we could watch Cheers, which he had never seen before until last week :)
Looking forward to the next storm so I can try again!


Betsy Finstad

Wednesday, July 11, 2012

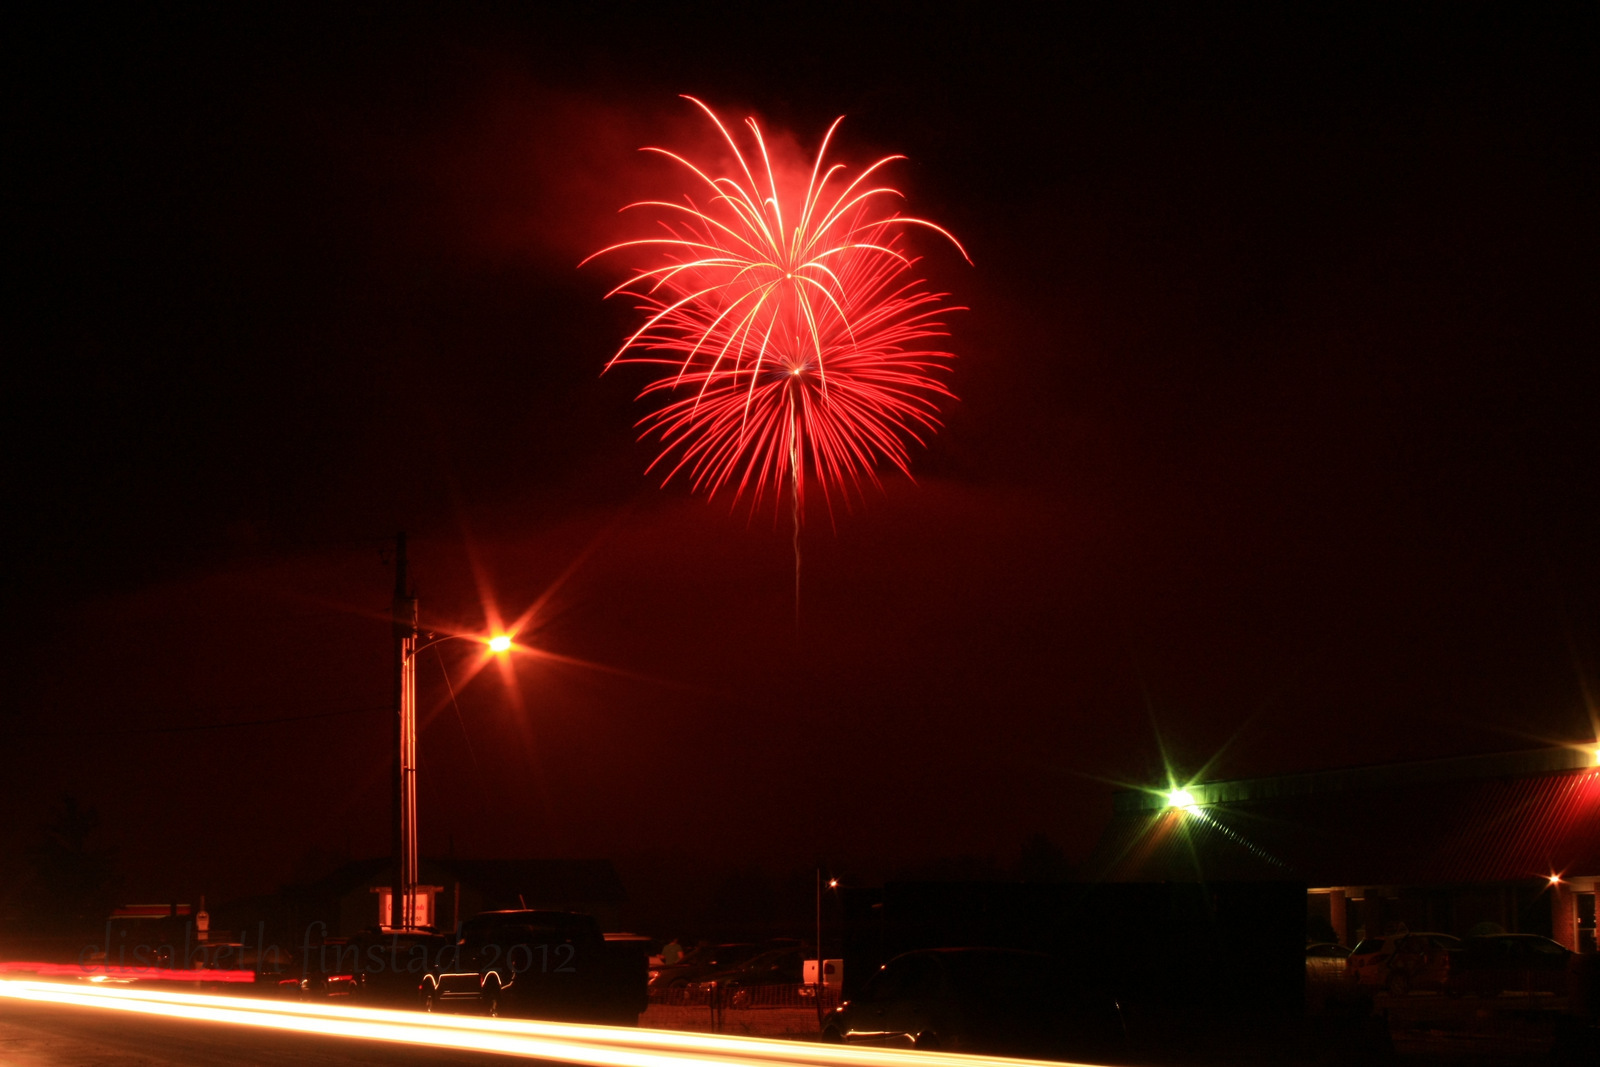
Fireworks 2012

As this year's 4th of July celebration came upon us I was determined to actually take good pictures of fireworks.  I've taken lots of bad ones over the past few years, and now that I belong to a couple of photography groups I started to think, wow, I should try to take it more seriously and see what I can do!

First, you need a good sturdy tripod.  For the Burlington fireworks (click here to see my entire web album) I did not have a sturdy one, but the one I had was good enough as long as nothing made the ground vibrate.  And by ground, I mean roof.  I got invited to go up on top of a rooftop in downtown Burlington 4 stories up and I am so grateful that I had that opportunity!

Second, you need to get to wherever you plan to shoot at least 20-30 minutes early so you can figure out the best settings for your camera and what kind of environment you are in.  For my camera, a Canon Rebel XSi, I used my 18-55mm kit lens, which is the lens I return to time and time again even though I have better ones. My camera has a bit of dust on the sensor due to the wretched construction outside my house so normally I cannot use a very tight aperture setting, but luckily when its dark out I can get away with it.  I set my aperture to f/22 (my camera mode was Manual) and tested a few shutter speeds.  I also took a panorama of the waterfront because the boats looked so beautiful with their twinkling lights.  Let me tell you, I am SHOCKED that it came out good at all:


That was a composite of 5 photos, each one exposed for 5 seconds at an aperture of f/5.  Thank goodness it was not a windy day.

Here are a few pics of the fireworks themselves, and the settings I used for them:

4 seconds at f/5.6  
This is the first one I took and it was still a bit light out.

6 seconds at f/14

5 seconds at f/14


4 seconds at f/22

10 seconds at f/22

2.5 seconds at f/25

10 seconds f/22 

The ISO was set at 200 for all of them.  I also took pictures of the fireworks in my hometown of Milton, using a sturdier tripod.  It made a big difference I think:

10 seconds, f/22

15 seconds, f/22

15 seconds, f/22

15 seconds, f/22

15 seconds, f/22

4 seconds, f/22

I feel that these are a little sharper, despite the insane amount of fog and smoke.  They were also fewer and farther between so the long exposure times didn't blow out the colors.

Thursday, June 21, 2012

Lightroom 4 Review

As some of you know I am a huge fan of Lightroom.  My friend mentioned it to me when I first got my DSLR and I do not know how I would exist as a photographer without it.  Especially since I do a lot of outdoor photos where the sunlight can be overwhelming, and also indoor events where I need that extra boost to remove noise and lighten without losing quality.  I have been using Lightroom 3 for about 2 years now.  I first started using it when it was still in Beta form, and then received it as a Christmas gift once it was live.  You can imagine my excitement when Lightroom 4 was announced!  New means better, right?  I downloaded the trial last week and started editing right away.

Here is an example of a what I was working on in Lightroom 3:


The sliders I find most useful on the right there are Recovery, Fill Light, Clarity, Vibrance, and Blacks.  These are great for correcting over and underexposure.

Here is an example from Lightroom 4:


Missing are the Recovery and Fill Light bars.  This really makes it hard for me to get the same result I could easily get with LR3.  Replacing those two options are a second set of tonal controls: Highlights and Shadows, and also a new slider called "Whites" that barely does anything, at least in a low light photo.  The blacks slider used to really bring out the black pixels and you would only slide up to maybe 5-10 as it was very sensitive, but the new version you slide the opposite direction and can go to a value of -30 and very little seems to happen.  I keep looking for the fill light and recovery slides!!!  Whites does not fill light.  Exposure now also seems to do something different.  It used to just bring up the exposure of things that were already exposed.  What I mean by that is if you look at the first ballerina photo from LR3 you can see that the ballerinas became lighter when I raised the exposure, but the background actually stayed fairly dark.  That's what I used fill light for, to let me control how much the background would lighten.  Now in LR4 the exposure seems to lighten everything at the same time!  Not liking that!  I find that I now need to use the brush Adjustment Brush for everything (at least in the darker ballet photos) so that I don't overexpose the entire picture!  

Speaking of the Adjustment Brush, that is the one feature that so far I like better than LR3.  If only I could meld the two versions together and pick and choose what I want.  Here is a side by side comparison of the Adjustment brushes, LR3 vs LR4:


I love that I can control the temperature of just a part of the photo.  And also the noise and tones.  But I'm not sure that its a fair trade.  

In conclusion, I don't think I will be scrimping and saving to puchase the upgrade to LR4 anytime soon.  Its $79 and I would rather use that money towards a lens or filter if I had it.  I am not knocking the product exactly, but I have to say I was a bit disappointed.  I am sure there are ways to "recover" and "fill light" in LR4 but they cannot be anywhere as easy as they had been.  I also do not have the time to sit and watch tutorials on how to use it seeing as I already spent a lot of time watching the LR3 videos!  


Wednesday, May 23, 2012

Low Light Photography

Having 2 school aged children I have gone to many events over the past few years that were in dark auditoriums or theaters to watch ballet recitals and chorus concerts and the like.  Of course I want to capture my kids in these early life moments but at the same time I do not want to be disruptive with a flash or getting down in the front and trying to get the most light.  That is my biggest thing:  I do not like people to see me when I'm taking their pictures unless they are paying me to.  I don't want to disturb other parents who are just there to see their kids or are video taping.

The best settings I have found on my particular camera for low light with no flash are these:

  • First, I try to get there early, even just a few minutes early, so that I can test the lighting.
  • I just about always use my telephoto lens so I can stand to the side or back and not have to worry about the people being tiny.  The 250mm is the best so far.
  • I put the camera in M (Manual).  I usually up the ISO to 800, set the aperture as wide as it goes (the lower the f number the wider the aperture) so usually f/5.6
  • Next I start taking pics before the kids come out starting out with a shutter speed of 1/150 and then going up or down depending on the exposure.  This is the one time I ignore the little light meter that tells me if its over or under exposed.  That meter just can't tell when there is light in one spot and no light all around you.
  • Once you have the shutter speed figured out for that lighting you should be all set!  You don't want to go much lower than 1/80 of a second or everything will be very blurry.  Its ok if they are a little dark because you can always fix that in the software.  
  • Also, if you just can't get a satisfactory shutter speed/aperture combo you can always up the ISO. Mine only goes to 1600 but many cameras go much higher.  Remember though, the higher the ISO, the more noise will be present, and if you do not have noise reduction software it can make your photos very grainy and unpleasant.
Here are a few examples of photos I have taken using the above methods:


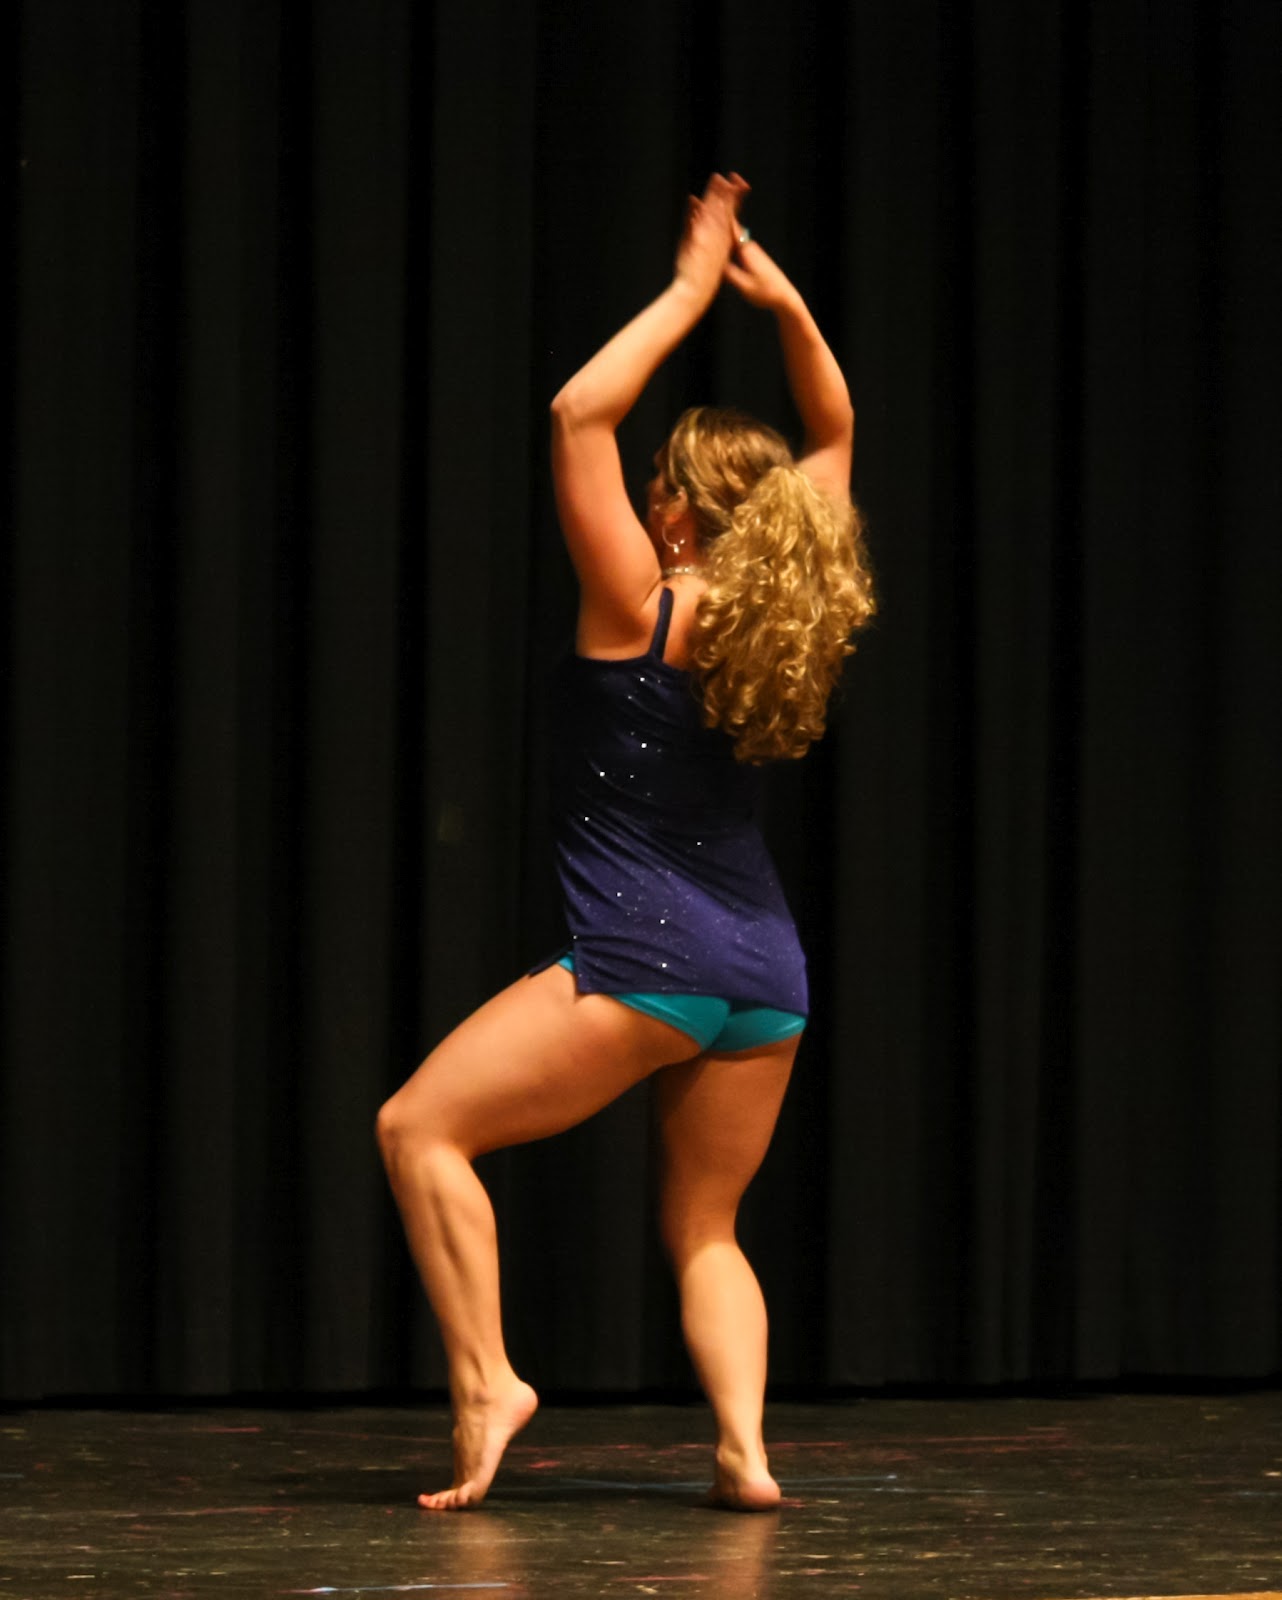
You can see there is some blur which actually looks neat because it shows motion, but at the same time parts of their bodies are still.  I love photographing ballet recitals, that is probably my favorite subject as far as people so far just because of the costumes and the movement.


Tuesday, May 22, 2012

A Few Of My Favorite Things

Here is a rundown of my preferred equipment that I can afford so far, my favorite software, and my favorite techniques.  I've learned a lot over the last 3 years since getting my DSLR!

My camera:  Canon Rebel XSi.  This camera has been peed on by a cat, banged against the car door, dropped by my toddler numerous times, and exposed to the dangerous innards of my purse.  And it still works just dandy!  I have had it cleaned once, when the sensor somehow got CHAPSTICK splattered on it (i blame Autumn) which was $60 at LeZot's and worth every penny.

My lens collection:
This is an old school Ultrasonic Canon 100mm portrait lens that a friend gave me.  It was made for a film SLR but it does fit my camera.  However, the fit is so tight that I'm scared to use it most of the time!  Takes very cool pics though.  Here is a pic taken with this lens:

My daughter Alicia when she was 5.


My 55-250mm telephoto lens with Image Stabilizer.  Got this one as a package deal with the camera itself.  This lens has been dragged through a puddle by my son one day last year.  It was in the bottom of a stroller he was pushing for me.  It had a lot of moisture inside the lens and I panicked thinking I would have to pay $100 to get it cleaned.  I probably should still get it cleaned but I just can't afford to.  The moisture dried up nicely with no spots just a few small fibers are stuck on the inside.  Still takes great pics.


Quantaray aspherical zoom lens.  I don't like this lens most of the time purely because it is for someone who is left handed I think.  The rotation of the zoom is the opposite of all my other lenses!!  It is nice though as it is 28-200mm so I can get both a decent wide angle plus a good enough zoom in one lens.  Also given to me by a generous friend who stopped doing photography once it got digital.


Holy lens batman!  This is my friend's husband's lens.  He doesn't have much time for photography right now and knows how into it I am so he let me borrow it.  70-300mm is great for birds, bugs, whatever!  Only downfall is it is very heavy!!  I did use it for the supermoon photos.


Prime lens 50mm portrait that opens to f/1.8!  Only $114 on Amazon!  This one is great if you want to focus on a very specific detail.  Here is an example of that:


You can see how only one small part of the image is in focus while the rest is pleasantly blurred.  Aperture f/1.8


This nifty little thing is a Spiralite Macrovar lens attachment.  It was my Grandfather's.  He was an amateur photographer back in the day and after he passed away I eventually came into possession of his camera equipment since I am the one who inherited his interest!  


What you do is attach it to your wide angle lens and then you can spin it out so it gets 2" tall like this!  You have to get REALLY close to whatever you are taking a photo of.   I find it works well for flowers and stationary items.


After getting requests to do weddings and other events I decided that I needed to invest in a real flash.  They are not cheap, believe me.  But it makes a world of difference in your photos.  On my birthday in January this year I asked everyone for Amazon gift cards in whatever amount they wanted.  I was scheduled to shoot my first big wedding in February.  I had purchased a Vivitar flash back in the spring of 2011 as it was 1/3 the price of a Canon Speedlite and had hoped that would be enough.  
That sucker is huge.

Unfortunately that flash, even though it was brand new in a box, was meant for an SLR not a digital camera.  I could make it work but there was no way I was going to get spontaneous photos as the flash did not talk to the camera.  If you ever see the acronym "TTL" that is referring to the flash talking to the camera "Through The Lens".  

And so I realized I needed to just do it.  With great excitement and some feeling of guilt that I was spending money on something not "necessary" to the household I bought this:


Its not the best of the best, but its the second best!  

That flash saved me from many underexposed pictures at the wedding I did! The problem I have encountered with this flash is I can only use it on "P" or Auto, which I hardly ever use!  I am a big fan of Av and Tv settings.  Sometimes I go to full manual but usually if I use Av at f/6 or f/7 I get what I want.  

Accessories that I have been using:

Retractable rubber hood.  I keep this one on my 50mm.

Its really a neat little thing!


Filters!  I have UV, flourescent, and two polarizers that are currently in use.  My grandfather also left me with red, yellow, orange, blue, and green filters which are meant to be used with black and white photography.  His cameras of choice were Minolta and Pentax.  I have several bodies and lenses for these but I haven't tried film photography with an SLR yet.  Maybe for fun someday!

Everyone that knows me knows I am a huge fan of Lightroom by Adobe.  Right now I have version 3.6 but when I get my new laptop I will have Windows 7 and will be able to get version 4!  So excited!
Here is why I love Lightroom:


That is a photo of Ireland that my friend took with the Canon T3i.  I think this example speaks for itself!  Its a great photo to begin with but needed to pop.

I also use Picasa (free from Google) to touch up things that I couldn't get right in Lightroom.  Believe it or not Picasa has a better retouch tool (for blemishes) and I like how the fill light works in there as well.  However, the retouch does NOT clone which you can do in Lightroom. There also are no brushes in Picasa which is a major biggie for me.

I do have a tripod, but I have found that I only use it when I'm taking photos of the moon.  I'm more comfortable holding the camera in my hands.  Plus most of the stuff I do is spontaneous and you can't get a candid with a tripod!  The one I use right now is also borrowed, and has a quick release mount which is AWESOME.  

I am very blessed to have such generous friends who have helped me out in many times of need!