Saturday, September 29, 2012

Fall Foliage 2012: To Be or Not To Be

I am not sure if I am just way to eager for the foliage season to appear because I want to take pictures of it or if there really is going to be some kind of problem with it this year due to the super hot dry summer we had.  It seems like its taking forever to get here to the Champlain Valley (I hear its pretty good in the NEK) and what I have seen so far is kind of...ugly!  Lots of brown, dead, crispy leaves instead of the rich reds, oranges, and yellows we usually get here in Vermont.

BUT I have been going through my external 1 terabyte hard drive trying to make space on it so I don't have to buy another one quite yet, and looking at Fall photos from 2010 and 2011 shows me that really the first 2 weeks of October are the best here.  So I need to just hold my horses.

I did go on a few easy hikes (and 1 harder one) over the past couple of weeks, and here are the best results of what I've seen so far:

Prospect Rock (Long Trail in Johnson) September 15, 2012:


Underhill State Park Sept. 19, 2012:


Niquette Bay State Park (Allen Trail) September 25, 2012:


Tower Road in Graniteville, VT September 26, 2012:


As you can see, Graniteville, which is in mid-state VT but a higher elevation, has the best so far!  If the weather cooperates I hope to get out as much as possible (also when this head cold goes away) to see how it is progressing elsewhere!  

On my list of places to go: 
Stowe
Underhill
Cambridge
Ripton
Middlebury
Burlington
Lake Elmore
Lake Carmi
Newport/Derby

Its possible I will only be able to go to one or two of these places but I'm hoping for a few...its hard because I only have about 5 hours of "free" time between when I drop the last kid off at school and then have to pick up the first kid.  

Thursday, September 6, 2012

Click to View Monarch Gallery


Over 60 different photos of Monarch butterflies in varying states of their life cycle.  Available for download, prints, and much more!

Friday, August 24, 2012

Monarch Mania


When I was a little girl it was a huge treat to find a Monarch (or any other kind) caterpillar.  Even though I lived in a very rural area growing up I never really knew what their eggs looked like or how to find them.  Back then we didn't have Google Image search!  The past few years I have been looking for the caterpillars, but despite the abundance of milkweed in my town I have only found one or two in the 8 years I've lived here.

That has all changed.

When I am determined to do something I am the kind of person that will do everything in my earthly power to make it happen.  I decided to become determined to find eggs and larvae, and lots of them.  My 8 year old daughter has been deathly afraid of insects for as long as I can remember, even butterflies.  This does not make sense to me because I spent my childhood in search of the weirdest looking bugs I could find.  A Helgramite takes that cake, by the way.  I turned over rocks, peeled bark, played in fields of tall grass for hours, and could often be found in a swampy ditch with tadpoles in hand.

In order to help my daughter conquer this fear I figured that if she could go out and help me find eggs and then watch the whole amazing process of metamorphosis in her own home that perhaps she would find a new appreciation for the incredible world outside.

We had already hatched one butterfly from a caterpillar I had found in my garden.  I tried to stay up to see it come out of the chrysalis but it happened very early in the morning last weekend.  I got some photos of the chrysalis and then of the adult before I let him go.


Unfortunately the kids didn't get to see him before he flew away so I felt that we should try again.  In one day we found 10 eggs.

The first 5 we found in the cemetery near my house.  Then we went on to my parents' house in Westford and found 5 more plus an almost full grown caterpillar (4th instar) and a probably 2 day old caterpillar on the same plant!  I put the ends of the leaves in a shallow tupperware with enough water in it to keep the stems wet.  I put the caterpillars each in their own small tupperwares.  Then I put everything in the Butterfly Pavilion that my friend gave me.

Today I took an early morning walk with my daughter and just because we were walking past some milkweeds we decided to look for the heck of it.  We brought home 3 more eggs.

Then I went across the street into the field next to the construction site and the Dollar General to get some fresh leaves to feed all these prospective creatures.  I read somewhere that they like the freshest youngest leaves possible.  In the center of the path that is mowed through that field were a bunch of young plants that were popping up.  I picked them as close to the ground as possible so that I could keep them in glasses of water and have fresh leaves.  Upon closer inspection I noticed that there were eggs on several of the leaves!

So now we are up to I think 16 eggs, 1 mature caterpillar and 1 baby caterpillar.  One of the eggs is just about ready to hatch also!  I'm going to be a busy leaf gatherer soon if all of them hatch!


Wednesday, August 1, 2012

Lightning Fever!

Over the last couple of weeks some strong storms have moved through and past my area.  Because I have been participating in a Facebook group that has brought over 150 Vermont photographers together I have found myself a little more daring and resolved to better my photography and try new things.  Namely, trying to get a good shot of lightning on purpose.

Here is a pic that I took back in 2010 after a storm that I got caught a mile away from home walking in:

That was the only one I had taken that came out good in the past 3 years.  It was handheld and totally accidental. 

Now I have learned the importance of a tripod for such things.  I usually hate using a tripod because it really restricts me and limits me to that one spot.  However, I used one a week ago and got this photo:

This storm was particularly violent so the odds of me getting a shot of lightning were in my favor.  I waited until the storm was flashing in my back yard and then opened my back screen door, set up my tripod, and started pressing the shutter button.  I pushed that button 350+ times to get this one!  Again though, it was more of a lucky shot than anything else.  

This past Saturday I happened to look out the window and saw this:

I got all excited because I hadn't seen any of these this year yet, and because I knew I would get another chance to try to get a lightning shot, this time at night so I could do it the "right" way.  When it got dark enough, around 9:30pm, I got my camera, tripod, and wireless remote and ran across the road to the Dollar General parking lot.  I wore sweatpants and a hooded sweatshirt and socks because it was so buggy I knew that I would get eaten alive.  The cloud was fairly active so I played around to see what settings would work.  

Using BULB mode, I decided that an aperture of about 8.1 was sufficient, and an ISO of 200.  I held the shutter open up to 40 seconds, depending if I caught a flash of lightning or not.  I also strongly recommend using RAW format if you can.  It takes much less time to recover from long shutter speeds.

Here are the best results:


This one was 40 seconds exposed.  

I wish I could have stayed out there longer but it was just too buggy and my husband was waiting for me so we could watch Cheers, which he had never seen before until last week :)
Looking forward to the next storm so I can try again!


Betsy Finstad

Wednesday, July 11, 2012

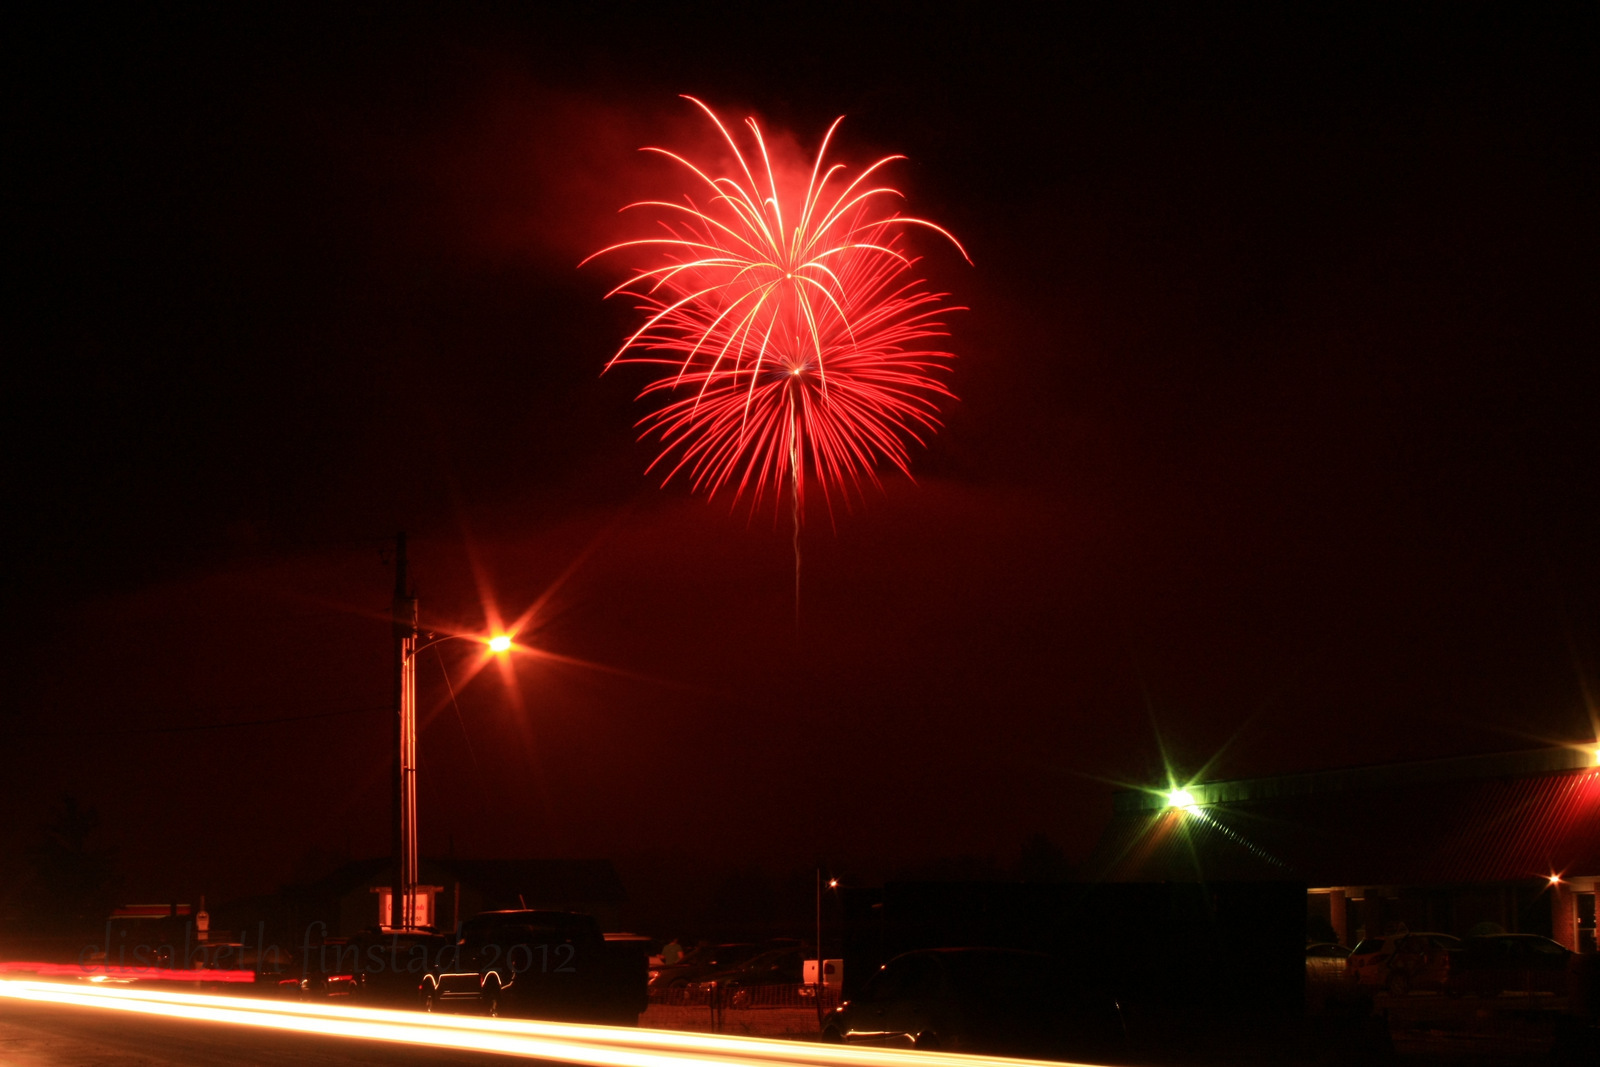
Fireworks 2012

As this year's 4th of July celebration came upon us I was determined to actually take good pictures of fireworks.  I've taken lots of bad ones over the past few years, and now that I belong to a couple of photography groups I started to think, wow, I should try to take it more seriously and see what I can do!

First, you need a good sturdy tripod.  For the Burlington fireworks (click here to see my entire web album) I did not have a sturdy one, but the one I had was good enough as long as nothing made the ground vibrate.  And by ground, I mean roof.  I got invited to go up on top of a rooftop in downtown Burlington 4 stories up and I am so grateful that I had that opportunity!

Second, you need to get to wherever you plan to shoot at least 20-30 minutes early so you can figure out the best settings for your camera and what kind of environment you are in.  For my camera, a Canon Rebel XSi, I used my 18-55mm kit lens, which is the lens I return to time and time again even though I have better ones. My camera has a bit of dust on the sensor due to the wretched construction outside my house so normally I cannot use a very tight aperture setting, but luckily when its dark out I can get away with it.  I set my aperture to f/22 (my camera mode was Manual) and tested a few shutter speeds.  I also took a panorama of the waterfront because the boats looked so beautiful with their twinkling lights.  Let me tell you, I am SHOCKED that it came out good at all:


That was a composite of 5 photos, each one exposed for 5 seconds at an aperture of f/5.  Thank goodness it was not a windy day.

Here are a few pics of the fireworks themselves, and the settings I used for them:

4 seconds at f/5.6  
This is the first one I took and it was still a bit light out.

6 seconds at f/14

5 seconds at f/14


4 seconds at f/22

10 seconds at f/22

2.5 seconds at f/25

10 seconds f/22 

The ISO was set at 200 for all of them.  I also took pictures of the fireworks in my hometown of Milton, using a sturdier tripod.  It made a big difference I think:

10 seconds, f/22

15 seconds, f/22

15 seconds, f/22

15 seconds, f/22

15 seconds, f/22

4 seconds, f/22

I feel that these are a little sharper, despite the insane amount of fog and smoke.  They were also fewer and farther between so the long exposure times didn't blow out the colors.

Thursday, June 21, 2012

Lightroom 4 Review

As some of you know I am a huge fan of Lightroom.  My friend mentioned it to me when I first got my DSLR and I do not know how I would exist as a photographer without it.  Especially since I do a lot of outdoor photos where the sunlight can be overwhelming, and also indoor events where I need that extra boost to remove noise and lighten without losing quality.  I have been using Lightroom 3 for about 2 years now.  I first started using it when it was still in Beta form, and then received it as a Christmas gift once it was live.  You can imagine my excitement when Lightroom 4 was announced!  New means better, right?  I downloaded the trial last week and started editing right away.

Here is an example of a what I was working on in Lightroom 3:


The sliders I find most useful on the right there are Recovery, Fill Light, Clarity, Vibrance, and Blacks.  These are great for correcting over and underexposure.

Here is an example from Lightroom 4:


Missing are the Recovery and Fill Light bars.  This really makes it hard for me to get the same result I could easily get with LR3.  Replacing those two options are a second set of tonal controls: Highlights and Shadows, and also a new slider called "Whites" that barely does anything, at least in a low light photo.  The blacks slider used to really bring out the black pixels and you would only slide up to maybe 5-10 as it was very sensitive, but the new version you slide the opposite direction and can go to a value of -30 and very little seems to happen.  I keep looking for the fill light and recovery slides!!!  Whites does not fill light.  Exposure now also seems to do something different.  It used to just bring up the exposure of things that were already exposed.  What I mean by that is if you look at the first ballerina photo from LR3 you can see that the ballerinas became lighter when I raised the exposure, but the background actually stayed fairly dark.  That's what I used fill light for, to let me control how much the background would lighten.  Now in LR4 the exposure seems to lighten everything at the same time!  Not liking that!  I find that I now need to use the brush Adjustment Brush for everything (at least in the darker ballet photos) so that I don't overexpose the entire picture!  

Speaking of the Adjustment Brush, that is the one feature that so far I like better than LR3.  If only I could meld the two versions together and pick and choose what I want.  Here is a side by side comparison of the Adjustment brushes, LR3 vs LR4:


I love that I can control the temperature of just a part of the photo.  And also the noise and tones.  But I'm not sure that its a fair trade.  

In conclusion, I don't think I will be scrimping and saving to puchase the upgrade to LR4 anytime soon.  Its $79 and I would rather use that money towards a lens or filter if I had it.  I am not knocking the product exactly, but I have to say I was a bit disappointed.  I am sure there are ways to "recover" and "fill light" in LR4 but they cannot be anywhere as easy as they had been.  I also do not have the time to sit and watch tutorials on how to use it seeing as I already spent a lot of time watching the LR3 videos!  


Wednesday, May 23, 2012

Low Light Photography

Having 2 school aged children I have gone to many events over the past few years that were in dark auditoriums or theaters to watch ballet recitals and chorus concerts and the like.  Of course I want to capture my kids in these early life moments but at the same time I do not want to be disruptive with a flash or getting down in the front and trying to get the most light.  That is my biggest thing:  I do not like people to see me when I'm taking their pictures unless they are paying me to.  I don't want to disturb other parents who are just there to see their kids or are video taping.

The best settings I have found on my particular camera for low light with no flash are these:

  • First, I try to get there early, even just a few minutes early, so that I can test the lighting.
  • I just about always use my telephoto lens so I can stand to the side or back and not have to worry about the people being tiny.  The 250mm is the best so far.
  • I put the camera in M (Manual).  I usually up the ISO to 800, set the aperture as wide as it goes (the lower the f number the wider the aperture) so usually f/5.6
  • Next I start taking pics before the kids come out starting out with a shutter speed of 1/150 and then going up or down depending on the exposure.  This is the one time I ignore the little light meter that tells me if its over or under exposed.  That meter just can't tell when there is light in one spot and no light all around you.
  • Once you have the shutter speed figured out for that lighting you should be all set!  You don't want to go much lower than 1/80 of a second or everything will be very blurry.  Its ok if they are a little dark because you can always fix that in the software.  
  • Also, if you just can't get a satisfactory shutter speed/aperture combo you can always up the ISO. Mine only goes to 1600 but many cameras go much higher.  Remember though, the higher the ISO, the more noise will be present, and if you do not have noise reduction software it can make your photos very grainy and unpleasant.
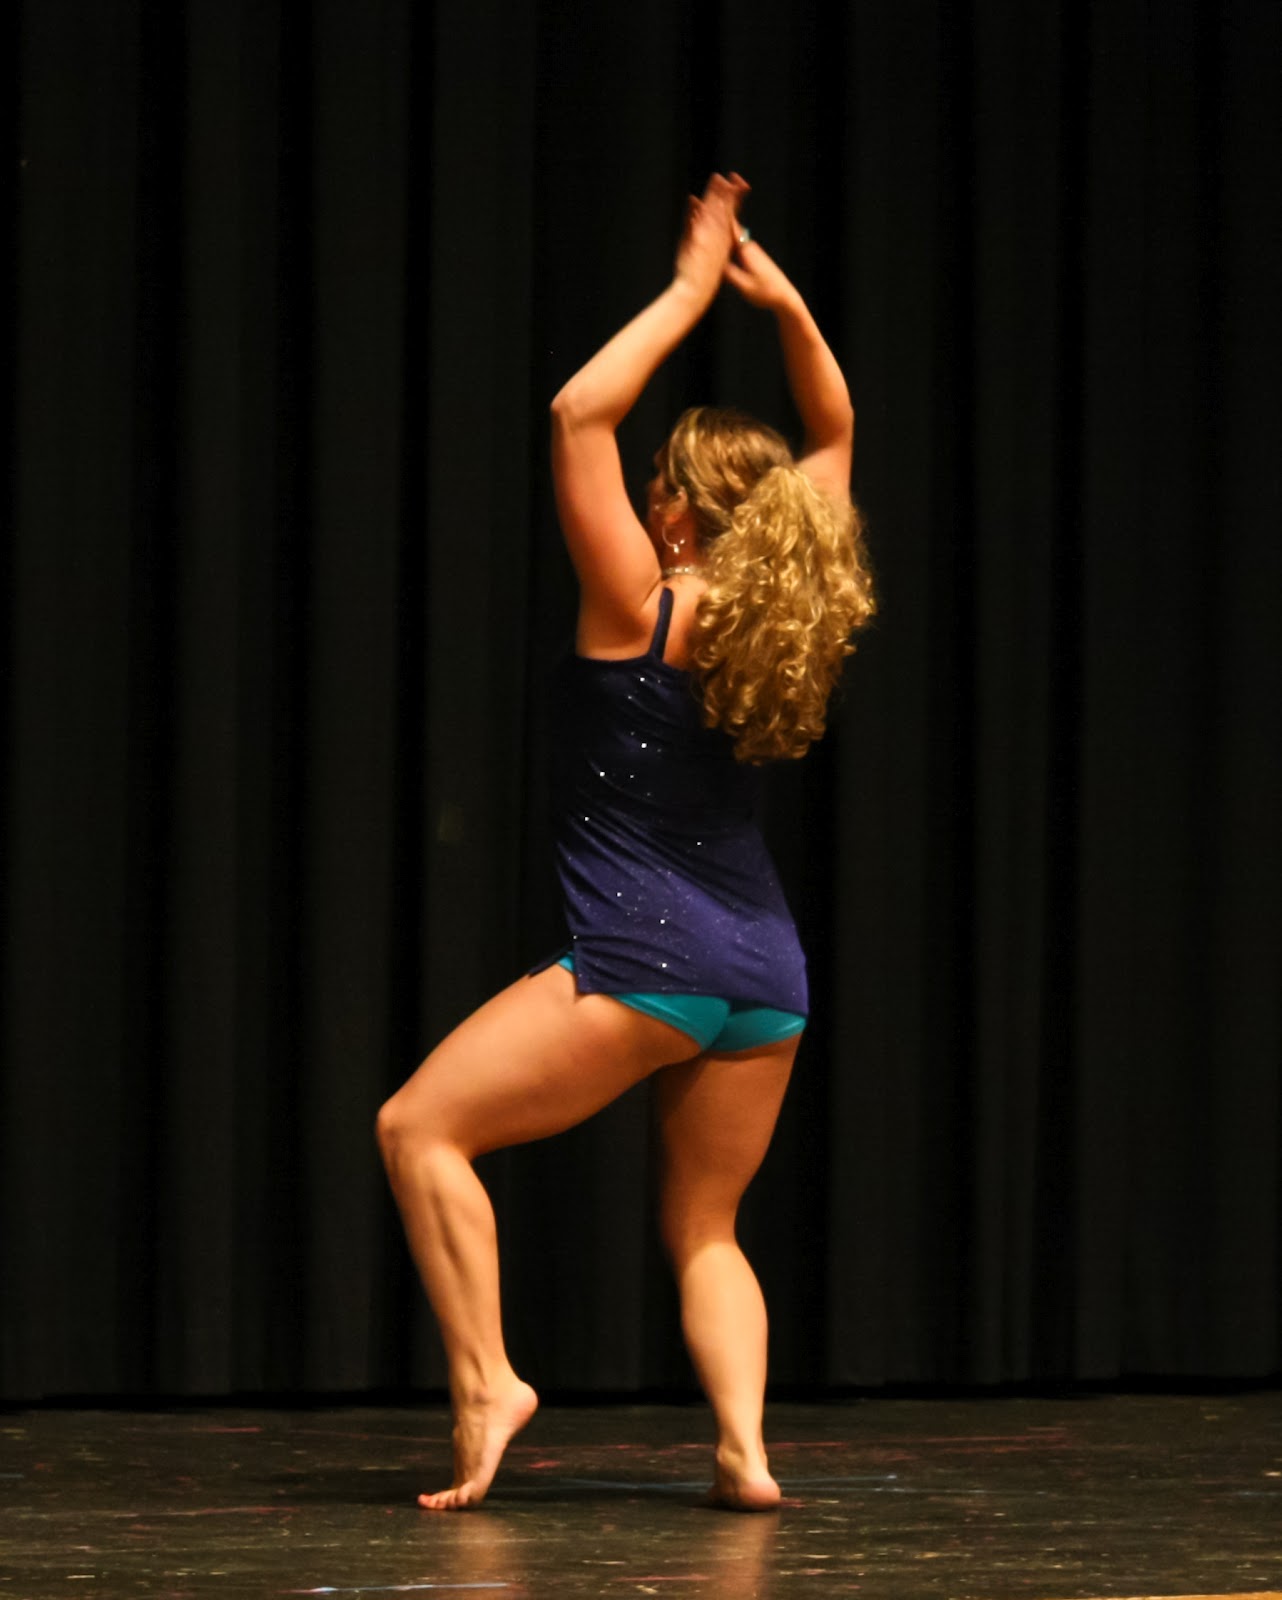
Here are a few examples of photos I have taken using the above methods:


You can see there is some blur which actually looks neat because it shows motion, but at the same time parts of their bodies are still.  I love photographing ballet recitals, that is probably my favorite subject as far as people so far just because of the costumes and the movement.