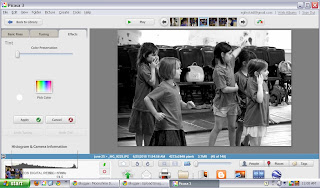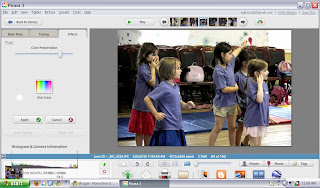
Recently I have been trying to take lots of photos of moving people, trying to capture moment and mood. It can be very difficult as you have to have a fast shutter speed to "freeze" time. This is no big deal if you are outside, where light is plenty, but if you are indoors and the lighting is dim or yellowy then you may find your photos are coming out really dark or everyone looks jaundiced.
My main subject lately has been my daughter and her ballet class. I did not want to use a flash for the recitals as this can blind the dancers and also distract them. Plus its just plain RUDE!!! And besides that, even with the flash your pics are going to come out washed out and glaring. Really its hard to win. I don't have a lot of equipment to work with so I have to make the best of what I have.
First, I make sure my camera is set to Manual, put the ISO up to 800 or so, and test out a few shutter speeds. Open the Aperture as wide as you can (the lower the number, the wider it is) for the lens you are using to let in the maximum amount of light. Your photos may still come out dark but they are somewhat fixable. Try to use a shutter speed of 1/60 at the minimum. It depends entirely on the setting though. You may need to play with a few different speeds.
Next, after I have taken as many as I want, I will upload them to the free Picasa program that I know and love. In here I will take the ones that I want to fix, double click to enlarge the first one, and go to the Tuning tab.
 This may fix the problem or it may seem to make your photo's coloring a little off. This is ok. Once you have adjusted the lighting, go to the Effects tab. Click on "Tint".
Go to the "Color Preservation" slider bar and bring it up until it looks correct. Voila! That is usually it!!

If it looks too pasty to you still, you can either hit "Warmify" (which I find is a little too drastic) or go back to the Tuning tab and bring up the red value slightly which will enhance skin tones.
Sound complicated? Its really not once you have tried a few things. Don't be afraid to play with your photos. Everything can be undone!!
Tip: If you find that your photo is too grainy still after fixing the lighting and coloring, I suggest downloading Lightroom 3 in the 30 day trial (or buying it--its a great program and if you have a student in the house its only $99 which is a great deal) and using the Noise Reduction feature. In there you would bring up the Luminance bar which removes most of the problem. You may have to play with the Detail and Color bars directly under it but its very easy to navigate!


