OK so maybe I've been around the kids too much. Is there such a thing? Yes, yes there is ;) That's why we have Girls' Night.
Anyway I have recently been asked what is a good way to copy protect digital photos for use in Facebook and other social media albums. I am a fan of "easy" so I will demonstrate my favorite go-to copy protect: the watermark.
A watermark is simply strategically placed text on your image so that a person can still enjoy the photo but cannot pirate it for their own purposes without your explicit approval. Some people who are bigger time photographers that have a career in that field will put large but translucent watermarks on their work to ensure that no one will copy and then crop out or photoshop the watermark out of existence. Myself being smalltime currently I just kind of meekly stick it in the bottom corner most of the time. The choice is yours and you can easily try a few different techniques in Picasa.
The first step is to of course import your photos into Picasa. I use Picasa for all my importing needs to get the photos off the card and into the computer because I really like the user-interface's simplicity. Once I have my photos how I want them and in the final stage I export them as a smaller 1024 pixel file. These exports are the ones that I post on Facebook or use for blogs. They are easier to work with and ensure that no one ever gets my large file even if they copy it. You could use an even small format if you want. It doesn't really matter.
The export process in Picasa has an easy watermark field at the bottom which will place the same text you enter in the bottom right hand corner of each of your photos:

Here is how the photo will look when you click on Export:

(red box for illustration purposes--does not show up on photo)
It does the trick but someone could easily crop that out or clone over it if they really wanted to.
The method I have been using is to export the photo but do not check off "Add Watermark". Instead I then open the photo I want to mark and click on the Text box:
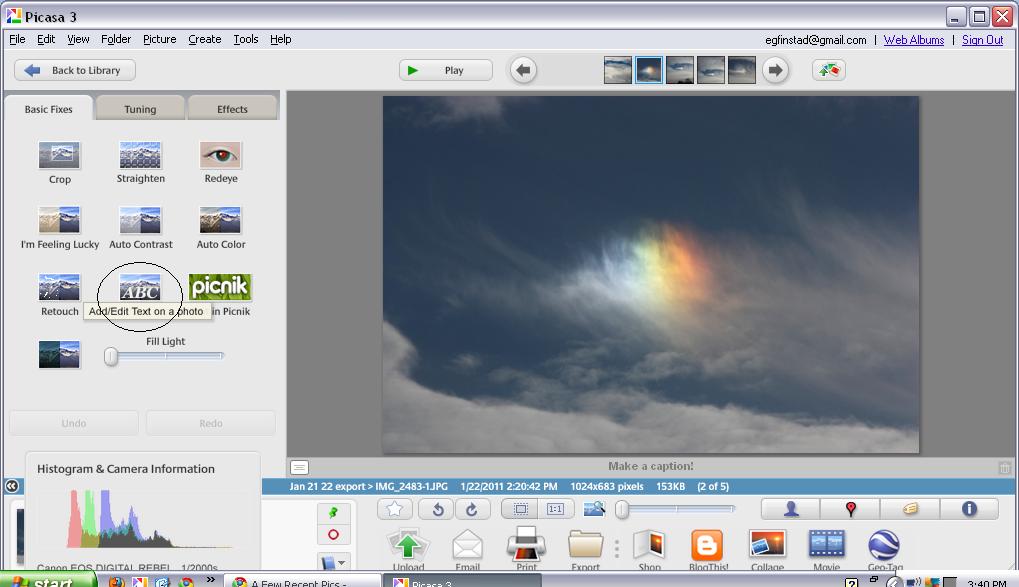
Click on image to enlarge
From here the photo will then say "Type anywhere to add text". You simply need to just start typing and a box will appear on the photo with your text in it. You can move this box anywhere on the screen. You can control the color, size, font, opacity (translucence), and placement:

Click to enlarge image
In my example the translucency is up all the way to allow for the color I chose to be seen easily. If you use a larger font size I recommend dropping the translucency half way down. Be sure to click "Apply" to keep the text on the screen.
The next step is to go back to the library screen and on the folder containing your files click on the Save icon:

Click to enlarge image
If you do not click on Save it will not keep your watermark on the photo when you go to upload it!

Final Watermarked Image
Here is some general info on Copyright laws:
Do you have any other suggestions or good articles about this topic? Please leave a comment below!
This is so great. Thank you! I had no idea Picasa had this option.
ReplyDelete